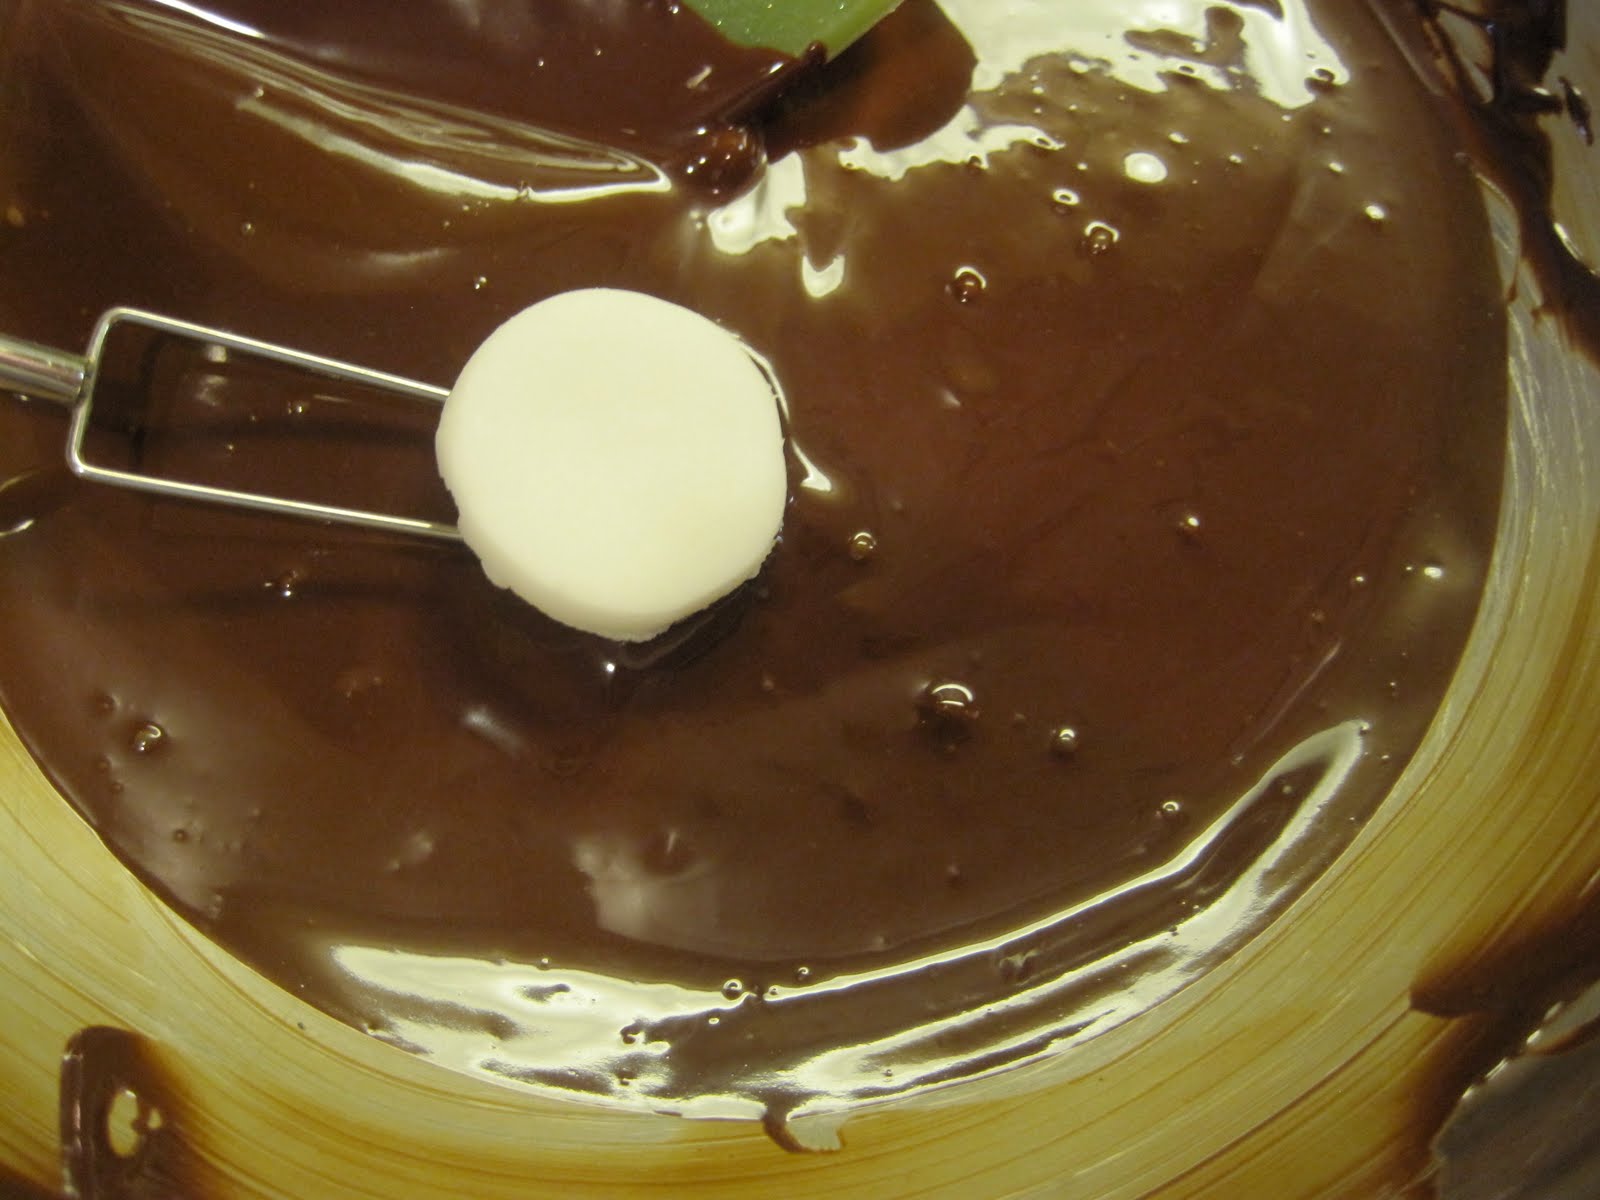
When I was a little girl, maybe 6 or 7, (before The Divorce) we had a babysitter named Cathy Carter. It was the first time I met someone with my name. She was very glamorous in my mind - she was a cheerleader. And she had a boyfriend. And she looked a little like Barbie's friend Skipper, pigtails and all. Cathy would arrive for babysitting with projects in mind - something the sleepy maids who looked after us in the afternoons never did. (They introduced me to General Hospital.)
Cathy taught me to make candy. To drop little drops of sugar syrup into cold water to test for soft ball stage or hard crack stage. We made taffy, pulling it until it changed color and got silky and tender to the tooth. We made holiday fudge, cracking walnuts, picking out the meats with toothpicks, toasting and then stirring the fragrant bits into creamy chocolate. Waiting impatiently for it to chill so we could cut it into bits. I haven't thought about Cathy for years, but last night she was in my dreams. Must be the candy making that is conjuring her.
I woke up extra early this morning. It was really quiet and so so dark. It seems to be dark almost all day long. Early December. It was a nice time to be awake, a hot cup of coffee, the computer full of Wednesday food sections from newspapers across the country, Dr. House on the DVR, and a little candymaking.
It's a good time to make candy. I really don't want to eat it that early in the morning. I cut and wrapped all the caramels from yesterday. A great thing to do at 5am when you're barely awake. Then I gathered everything for gumdrops and brittle.
I made these gumdrops when the recipe first appeared in 2005, and have done so every year since. They are amazingly easy, they taste great, and they're a very cute and surprising addition to the cookie box.
The flavor can easily be altered by swapping out the lemon for lime, blood orange, grapefruit, pomegranate or grape. They make pretty jellies, cut a little larger, for a cheese course, with port, let's say. I've also thought about herb infusions. Just haven't gotten there yet.
 Lemon Gumdrops
adapted, slightly, from the New York Times Magazine
4 sheets, or 4 packages, of plain gelatin. If using packaged, bloom in 1/2 c cool water for five minutes.
2 c sugar
1/2 c water
Juice of 1 lemon
Zest of one bright orange (this provides primarily color and some visual texture, so get a nice orangey orange)
3 drops yellow food coloring
1/2-3/4 c sugar for dusting

Line an 8x8 pan with parchment and spray with non-stick spray, brush with canola/unflavored oil, or butter
Heat sugar and water in a good sized saucepan and bring to a full rolling boil. Add the gelatin and boil, stirring frequently, for about 15 minutes, or until it's really thick.

Add lemon juice & orange zest and bring back to a boil and boil well for 3-5 minutes. The bubbles will start to break up, and you will see the gelee under the foamy surface.
Remove from the heat and stir in the food coloring. Resist the urge to add more than three drops. Stir well and pour into the prepared pan. Bang the pan on the counter a few times to get rid of the bubbles. There are always a few straggling little bubbles but the sugar coating will cover all kinds of imperfections. (There we are again - worried about perfection...)

Do not cover (it makes an ugly slime across the surface.) Just set aside and allow it to set up for at least an hour.
Put the 1/2 c sugar into a shallow bowl.
Remove the paper from the pan and lightly loosen the candy here and there. I use a big oiled knife to make 12 cuts in each direction - 144 pieces. The knife will basically score the gelee, and then I use a kitchen scissors to cut out the individual pieces. Drop the pieces into the sugar and roll them around to coat well.

These candies will keep in a container, with wax paper separating the layers, covered, for about a month. They harden a little, but it doesn't affect their deliciousness.
Fragrant, Spicy Brittle
slightly adapted from Gourmet, 2006
Equipment: Candy thermometer, sheet pan, two pieces of parchment to fit the pan, rolling pin, preferably with handles

Canola oil
2 tsp green cardamom pods
2 c sugar
1/4 c dark honey (I'm using my friend Lucia's family honey here.)
1/4 c light corn syrup
1/4 c water
1/4 tsp cayenne
1 c salted blister peanuts
1/2 c pistachios
1/2 c sliced almonds, skin on
Put one sheet of parchment in the sheet pan and oil well. Put the other sheet next to the pan and oil one side.
Crush the cardamom pods and extract a teaspoon of seeds. Lightly crush the seeds with your knife blade and put them in a 3 qt deep, wide saucepan.
Add the sugar, honey, corn syrup, water and cayenne and bring to a boil slowly. I keep the flame at medium low. Sugar heats very slowly and it will burn if you rush it. The corn syrup helps manage the sugars in a brittle. I'm not a fan, as I've said, but for certain candies everything just works out better.
 Heat the syrup to a toasty color and 300• on the thermometer. This is what's called the hard crack stage. If you don't let it come to this temperature, your brittle will be sticky and will pull out fillings, so make sure you get all the way up there. This whole process takes about 20 minutes and cannot be rushed.
Stir the syrup occasionally by dragging a silicone spatula or wooden spoon from the edges to the center of the pot slowly and deliberately. Be patient.
When the syrup has attained the heat, quickly stir in the nuts, allow the candy to come back to a boil for two minutes, then pour it out quickly on the oiled parchment.
 Work quickly here.
 Place the other sheet on top of the candy, oiled side down. Using the rolling pin, press the candy out to about 1/2" thick. Handles on the rolling pin are good because this stuff is really really really hot. And you do not want to touch the rolling pin after it has touched the candy. If you don't have handles, use a folded towel to propel the rolling pin.
(The recipe offers if the candy cools too much to be malleable, you can pop it in a 300• oven to melt a bit, then continue to roll and press it out. I've never had to do this. The recipe also says it should be 1/4" thick. Hard to do when the nuts are thicker than 1/4"!)
Let the candy cool for a couple of hours.
 Keeping the top sheet on so you don't dent the candy, crack the surface with a hammer, gently.
Stored in a cool spot, in a tightly closed container, layered on wax paper, the candy keeps for about a month.
Keeping count:
72 peppermint patties
70 caramels
144 lemon drops
50 1x1 pieces spicy brittle
Ho Ho Ho

 Today I made two cookies, each had a moist brownie-like base, and were cooked in the same way, but then the recipes diverged and one became a Rum Ball and another became a Grasshopper. Yes, it was a boozy day in the kitchen. I love these two cookies - they present beautifully in a cookie box.
 The recipe yields a ton of cookies - about 80 pcs if they are cut into small bonbons. Making them is a commitment - it takes hours, interrupted by cooling time. I made them in between making a few other things. I don't mean to be discouraging, but be ready to commit.

 On the other hand, the Rum Balls are incredibly easy and take very little time to make. Feel free to switch up the booze. They are wonderful with Grand Marnier, Frangelica, Bourbon, Cognac, even the new artisanal gins. This year, I substituted a rum liqueur called Velvet Falernum that makes a mojito extra wonderful. It's sweeter than rum and has an herbal tone that's amazing.
 In another bowl, beat the eggs, sugar, vanilla and salt until blended.
 Roll the mounds gently in your hand until nice and round. Don't compress the dough. Be gentle.